
A change from a student visa to a tourist visa may be desirable in the United States if someone is done with their studies but wants to stay for personal travel or short-term visits. In the guide, you have everything you need to revalidate your US F1 Visa or switch from the US F1 Visa to the B1/B2 Visa using the right legal steps.
Understanding the Visa Difference
The F1 US visa is a non-immigrant type only designed for full-time students. It permits foreign students to remain in the U.S. while they’re in school and, in some cases, after completing training. When the course/ program finishes, the person has a short period of time to leave the U.S., change course or transfer their visa status.
Another type of non-immigrant visa is B1/B2 Visa which is commonly known as a b1 b2 visa. The B1 part is for short-term business visits, such as attending conferences or meetings, while the B2 part is for tourism, medical treatment, or visiting friends and family.
Now, how to turn F1 visa into a B1 B2 visa? If you are looking to understand what is B1 B2 Visa is, you need to know that with a “B” type visa, you will only be allowed to study in the USA if your course does not require more than 18 hours weekly.
Reasons for Switching from F1 to B1/B2
Many people prefer to transfer their status from an F1 US Visa to a US Tourist Visa after completing their program if they want to stay a little longer. The common reasons are to visit family members who stay in another state, casual sightseeing, to get away from the stress of studies, or to celebrate personal events. These are acceptable applications as per the B1 B2 visa, but the candidate must specify is the application in order not to be rejected or accused with inappropriate use.
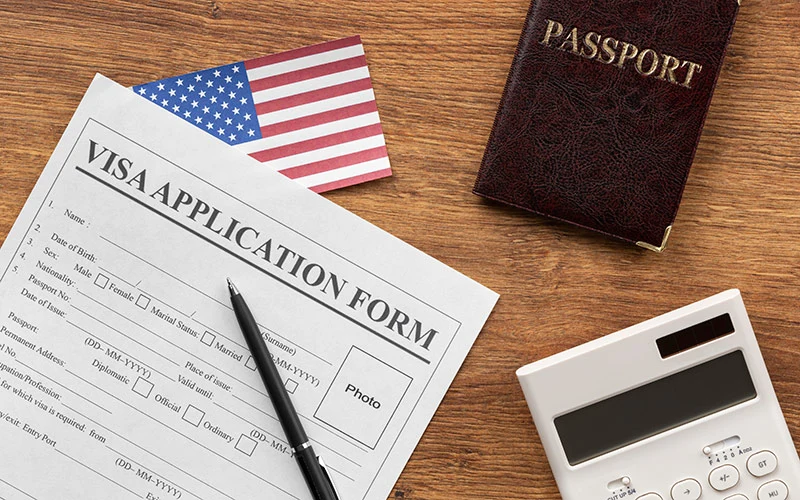
To change your non-immigrant status in the US, you’ll need to meet specific US visa requirements, such as demonstrating sufficient finances and strong ties to your home country, and then follow the formal process for status change.
Step-by-Step Guide: How to Switch from F1 to B1/B2 Visa
Here’s the entire step-by-step F1 to B2 change of status application process from the U.S.
1. Determine Eligibility for Change of Status
Before you apply, make sure your F1 status remains valid and you have not violated any of the terms of your student visa. You still have to be in the U.S. lawfully to apply for a change of status. Overstaying or working without permission will result in a refusal.
2. File Form I-539 with USCIS
This is technically known as the “Application to Extend/Change Nonimmigrant Status” and it is filed with USCIS. Select the option to change to a B2 Visitor under the form.
3. Gather Required Supporting Documents
Include the following with your I-539 form:
- Copy of your valid passport
- Copy of your current F1 visa and I-94 record
- Evidence of enrollment completion or upcoming completion
- Recent bank statements or proof of funds to show financial self-sufficiency
- A personal cover letter explaining the purpose of the stay under the B1 B2 Visa.
- Documents proving ties to your home country (property ownership, family, employment)
4. Write a Strong Cover Letter
Make your cover letter to the point and sincere. When upgrading from F1 to B1/B2 Visa, specify your visit purpose (e.g., tourism, family visit) and duration, and assure departure plans (e.g., return ticket, home commitments).
5. Pay the Filing Fee
The filing fee for Form I-539 must be submitted with the application. Verify the most recent fee on USCIS’s official website and make the correct payment ($470) to avoid another holdup.
6. Submit the Application and Wait for a Receipt
Once it is filed, USCIS will issue a receipt notice with a case number. Use that number to check the status of your application online.
7. Stay in the U.S. Legally During Processing
Stay in the U.S. while the application is pending. If you somehow try to move out of the country while it is being processed, USCIS will consider your application abandoned. This may cause denial and have an effect on any future applications for US tourist visa.
8. Attend Biometrics Appointment (if required)
You might be called to visit the USCIS Application Support Center, where you’ll need to bring the receipt notice and a photo ID. This is a routine part of the visa change process and you have nothing to worry about.
9. Monitor Your Case Status
Keep an eye on the USCIS case tracker online. Normal processing time may be 3 to 9 months, depending on the workload of the service center.
10. Receive Decision and Updated I-94 (if approved)
If your Change of Status is approved, your I-94 will be updated to reflect your new B2 status. Remember, this approval does not carry a new visa stamp. If you’re traveling outside the United States, you’ll need to visit a consulate to obtain an official US Tourist Visa, which will be stamped in your passport.
Important Guidelines to Follow
- Apply before your F1 US Visa or grace period ends
- Don’t travel while the I-539 is pending
- Avoid work or study under a b1 b2 visa
Be truthful and consistent in all documents
- Keep ties to your home country clear
- Use your US Tourist Visa only after approval
- Follow all U.S. Visa Requirements strictly
- The B1/B2 Visa is for short visits only

Applying for a B1/B2 Visa Outside the U.S.
Some people prefer or are required to leave the U.S. and apply for the B1/B2 Visa from their home country. In this case:
- Complete the DS-160 application form online
- Pay the visa fee
- Schedule a visa interview at the nearest U.S. embassy or consulate
- Attend the interview with all supporting documents
Risks and Rejection Reasons
There is always a chance that the change of status from f1 to b2 visa may be denied. Common reasons include:
- Insufficient evidence of funds
- Weak explanation for the change of purpose
- Suspicion that the applicant will overstay or misuse the b1 b2 visa
- Lack of strong ties to the home country
- Inconsistent information between documents and the application
Tips to Improve Application Success
To increase approval chances, follow these tips:
- File early before your F1 status expires
- Provide detailed, truthful explanations
- Do not exaggerate your travel plans
- Show proof of funds for the duration of stay
- Include ties to your home country like job offers, family responsibilities, or property
- Keep all previous I-20s and school records organized
- Do not engage in tourist activities before approval
Conclusion
It’s possible to change from a US F1 Visa to a B1/B2 Visa conversion, but this should only be done under certain circumstances, and you must not take undue advantage of this feature. By taking care of the steps above, the applicant will be able to move more seamlessly, giving comfort to the applicant’s record in future visa applications.